When you plan to replace old electrical outlets with new ones in your home, you will find that fixture installation can be quite tricky. Before you begin installing the fixtures, however, you should make sure that they will work well with the space available and that you understand the process completely. There are several different elements involved in the fixture installation, and knowing them will help you complete the job properly.
Before you start with the installation, you should create a checklist to know what you need to do for each step. First, you need to figure out which sockets you will need. Most outlets will be mounted on walls, but some are to be mounted on ceilings or floors. It would help if you considered where the sockets are located in your home because the wiring may need to be run through more than one location.
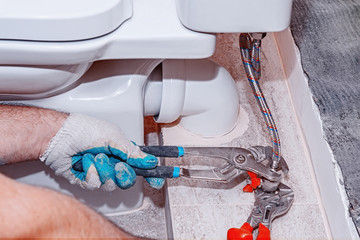
The next thing that you need to plan is how you will hide the wires. If you are not going to hide them under floorboards or other surfaces, you can use wall sheathing or plastic tubing. You will also want to make sure that you get all of the wires where they will go. If you want to hide the wiring under the ceiling, you should consult Plumbers in Plano TX. They can show you how to conceal the wires so that no one will see them.
After you have the wires where they need to go, you should mount the outlet boxes to the wall. When you are mounting the box, you should remember to keep the spacing between the outlet boxes at least four inches so that you will be able to plug in the wires without tripping over the cords. You will also need some wire risers to keep the wire from getting tangled when trying to plug the outlets in. A three-inch space between the box and the actual fixture should be fine. Before you start the installation, you should make sure that the box is close enough to the outlet for the wires to fit inside. You will also want to get some more hardware to help secure the wires.
Once the box has been mounted, you can start fixture installation. Start by attaching the outlet box to the wall. Most people will run all the wires through the holes in the fixture. You can also use a standard electrical outlet box if it works better in your home. Then attach the fixture to the outlet box with the screws.
After this, you will need to start connecting the fixtures. The easiest way to connect them is to use a screwdriver tip and screw into each hole. Make sure you only screw in one end of the wire. Otherwise, there is a possibility that you will short the connection. If you do not screw all the way down, you will need a wire stripper to strip the insulation off of the wire.
Once the wire stripper has been applied, you can start doing the soldering. Make sure to get a good quality solder for your fixture. When installing the wires, you should run them through the outlet box first before going any further. This will ensure that the wires are completely secure.
The last thing to do before installation is to clean up any debris from the holes. You will need to clean them before the fixture is installed. Once everything is clean, you can start the fixture and wire it up. This should be an easy process for you to handle.